Using the Professional Biomat Controller
The Professional Bio-Mat comes with an easy-to-use controller that is quite sophisticated. The Bio-Mat controller allows you to set the temperature and time. The controller then monitors the temperature using sensors located at different points inside the Bio-Mat. It adjusts the temperature as needed. If the temperature has reached the set point, the controller activates the electrically generated negative ions. It has advanced electronics to block Electromagnetic frequencies from the incoming electrical lines.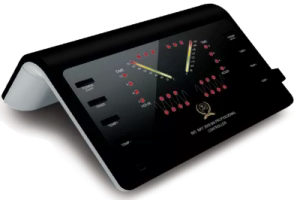
Assembling the Controller
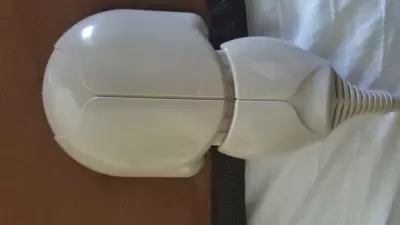
The controller comes in two pieces. One piece can be used to tilt up the controller if desired as shown in the above picture. Not everyone uses the second piece because some people like the controller lying flat as you see in the picture below.
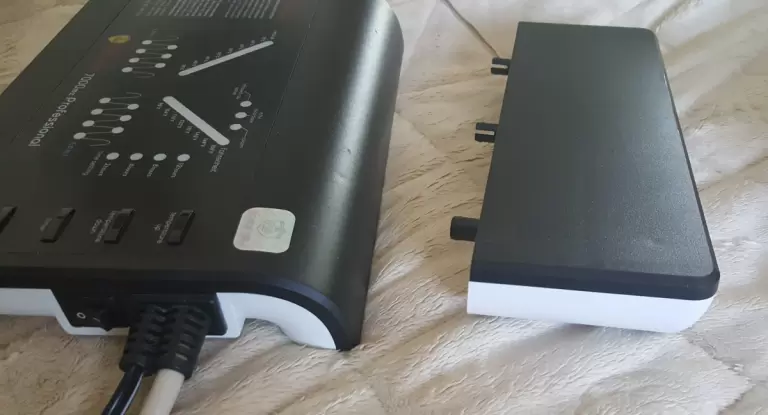
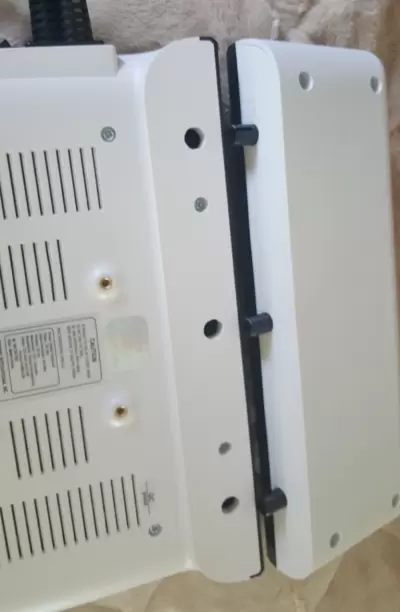
Note that once you connect the two pieces it takes quite a bit of force to separate them, but they can be disassembled. It is also easier to pack when the two pieces are not connected.
Positioning the Bio-Mat Controller
To sleep with the Bio-Mat, the controller can be placed on a stand, a headboard, or placed on the floor. In therapy sessions with a Bio-Mat, some people use the face support of a massage table to hold the controller.
While EMF is blocked through the Bio-Mat, some EMF does come off the controller. Because of this we generally recommend placing the controller away from the head.
It may not be obvious, but you can turn the Professional Bio-Mat around and place the controller at your feet. Your feet would be where the pillow normally goes on the Bio-Mat. When you set up your Bio-Mat on your bed this way, you can then place the controller at the foot of your bed.
Plugging the Controller into the Bio-Mat
When using the quilted pad or the Quantum Energy Pad, you will want to place those on the Bio-Mat before you connect the controller. That is because the controller will plug through the straps.
Make sure you have a tight connection as shown below.
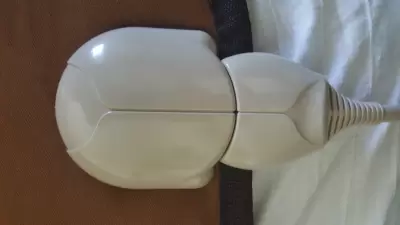
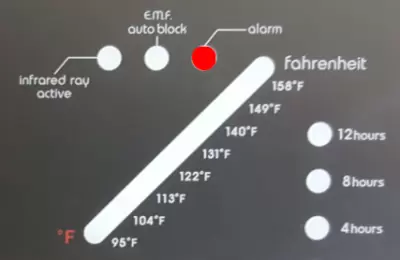
If you do not have a tight connection, as shown below, an alarm light will display.
Here is the alarm light (shown in red) that will display if something is wrong.
Powering On the Bio-Mat Controller
The Bio-Mat controller has a master power switch located on the side. You must first turn on this switch.
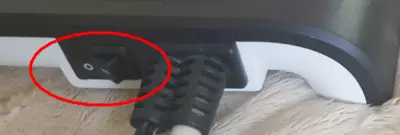
Once the master switch is turned on, you can activate the controller using the “Power On” button located on the face of the controller.

After the power is turned on, you are ready to set your time and temperature.
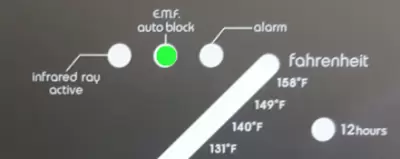
Part of the sophisticated features of the Bio-Mat controller is the blocking of harmful electromagnetic waves coming through household current. The “E.M.F. Auto Block” light shows up when this occurs. This lights up to indicate the active reduction of harmful electromagnetic waves. It turns off if there are no electromagnetic waves to block. So, this light does not always come on.
Setting the Timer
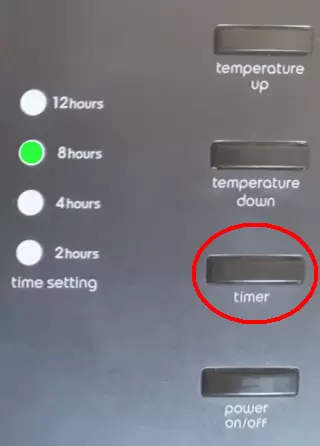
When you first turn on the Bio-Mat, the timer default is set for eight hours. By repeatedly pressing the “Timer” button, you can change the time to 2, 4, 8, or 12 hours. At the end of this time, the Bio-Mat will automatically shut off.
Setting the Temperature
The temperature is set by pressing the “Temperature Up” and “Temperature Down” buttons.

If the temperature is set above 113 degrees F (45 degrees C), as a safety feature, the Bio-Mat temperature will drop to 113 degrees F after four hours.
See this link for suggestions for Biomat temperature settings.
Don’t like the lights?
Some people do not like the bright lights on the Bio-Mat controller while trying to sleep. You can cover the face of the controller with cardboard or a towel to block the lights. As an alternative, you can use a product such as Lightdims.
